Purpose
This manual is the simple day-to-day guide for using the unified portal.
It is written for:
- members
- admins
- super admins
- church staff helping with onboarding
The goal is to explain how the system works in real use, from member registration to giving, attendance, and admin operations.
System Mission
The unified portal is the church's connected system for:
- member registration
- member identity creation
- portal access
- attendance
- events
- announcements
- giving
- subscriptions
- donor and tax records
The system starts with the member form. That is the main gate into the whole platform.
The Foundation of the System
Before a member can use the portal, the system must create the church identity layer.
That foundation includes:
- member application record
- member ID
- attendance code
- QR identity
This is important because everything else depends on it:
- first-time setup
- member login
- attendance check-in
- admin member search
- donation attribution
- giving history
- tax documents
Member Journey
Step 1 — Submit the Member Form
The member form is the first step into the system.
It collects:
- campus
- full name
- date of birth
- phone
- address
- emergency contact
- signature and covenant fields
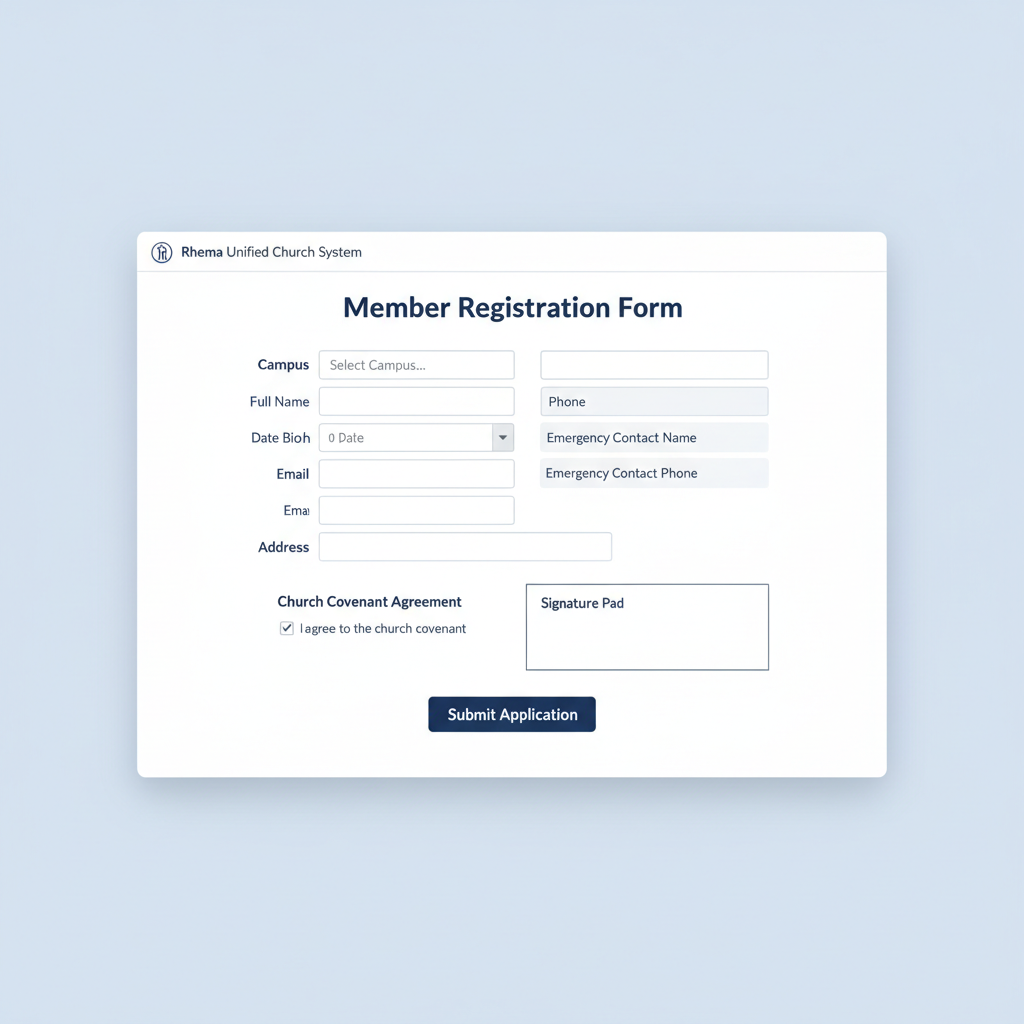
Fig 4.1 — The Member Registration Form
After a successful submission, the system creates:
- the member row
- the member ID
- the attendance code
- the QR identity layer
Step 2 — First-Time Setup
Once the member exists in the system, the member can activate portal access. This first-time setup connects the person's church identity to their portal password.
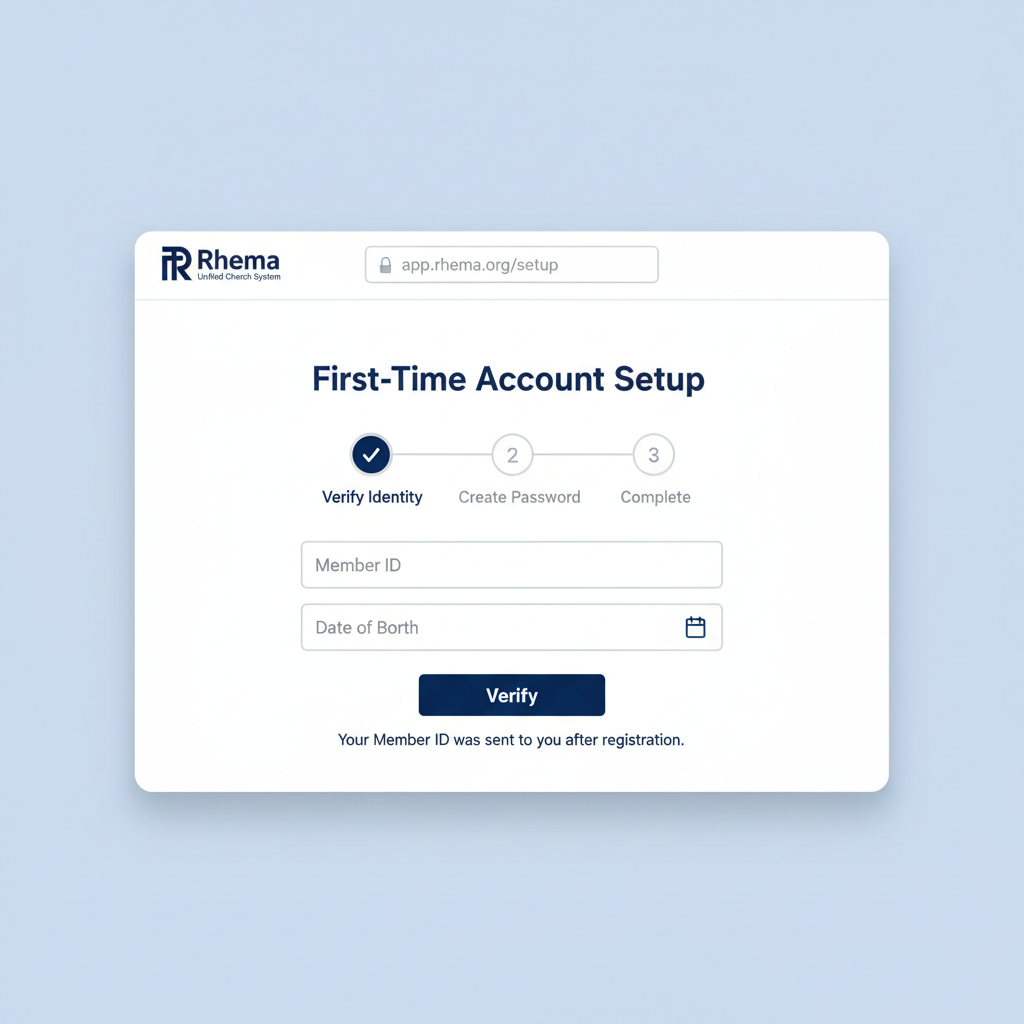
Fig 4.2 — First-Time Setup screen (3-step identity verification)
Step 3 — Member Login
After setup, the member can log in to the portal and use the member experience.
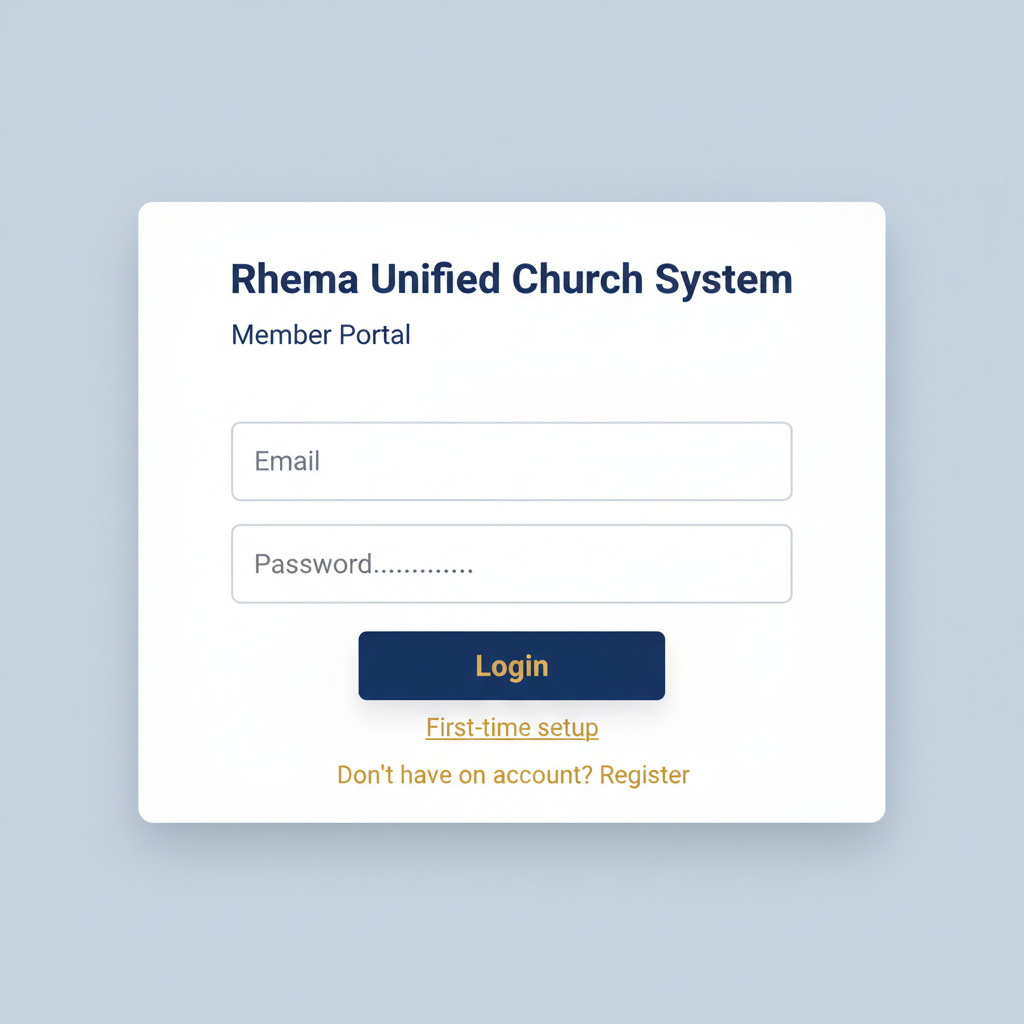
Fig 4.3 — The Login screen
Member Portal Tour
Dashboard
The dashboard is the member's home screen. It gives quick visibility into:
- recent activity
- announcements
- upcoming events
- attendance awareness
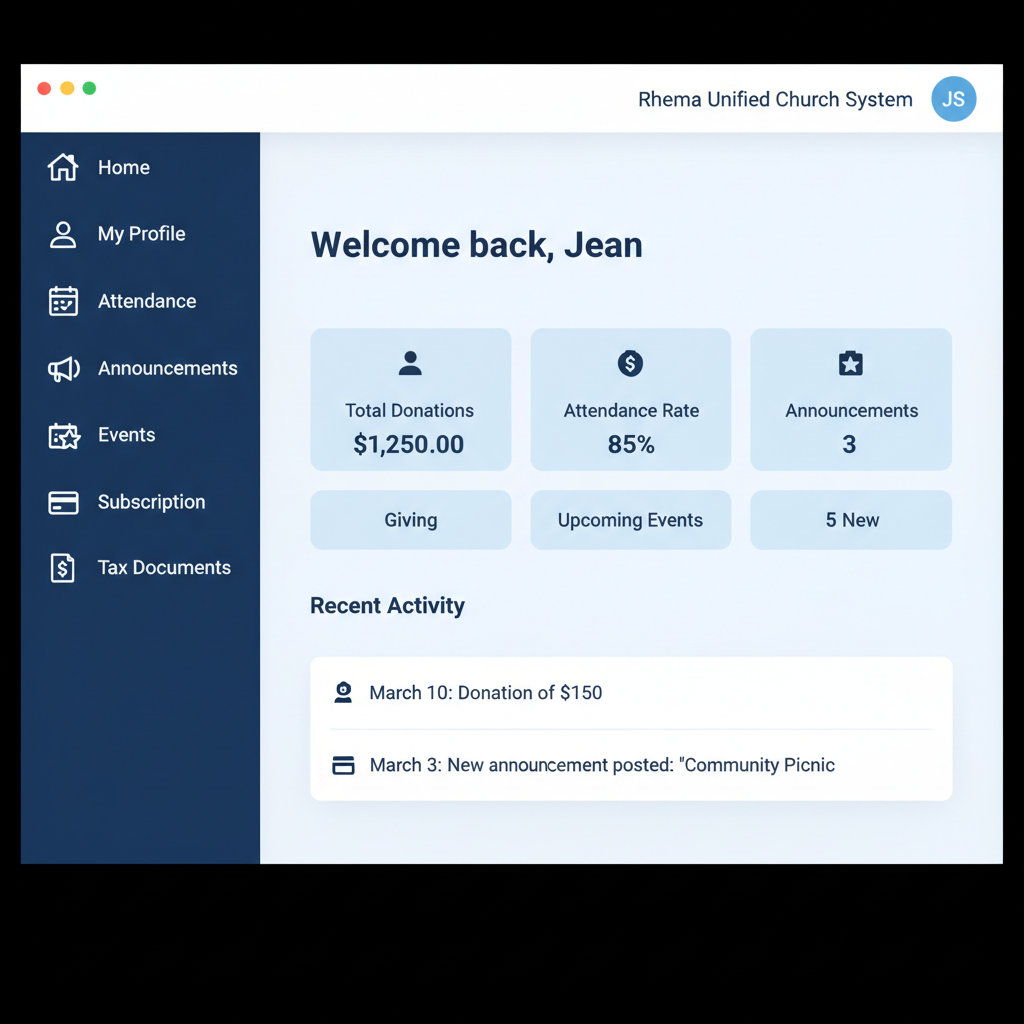
Fig 5.1 — Member Dashboard
Profile
The profile section shows and manages member identity details. Typical uses:
- review contact information
- access QR identity
- update profile details
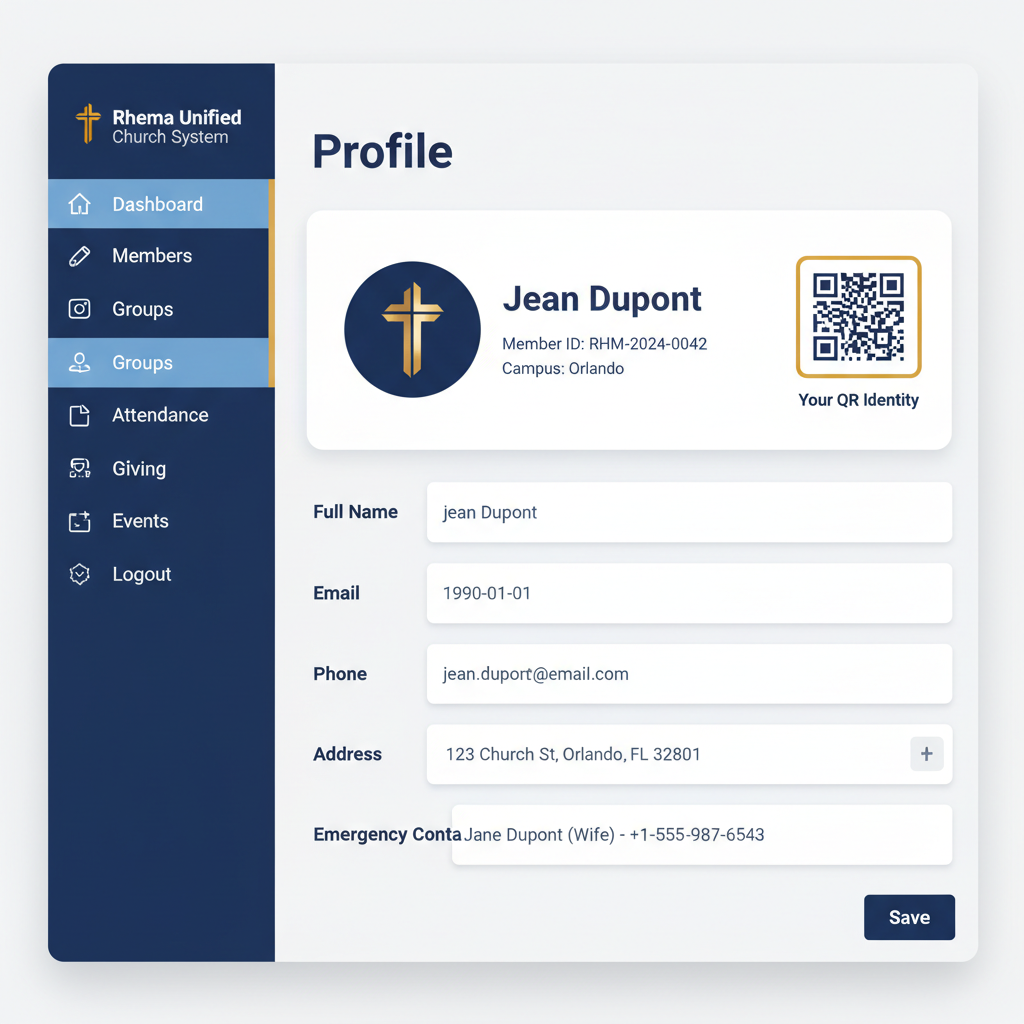
Fig 5.2 — Profile page with Member ID and QR Identity
Attendance
This page shows the member's attendance history. Typical uses:
- review past attendance
- confirm event participation
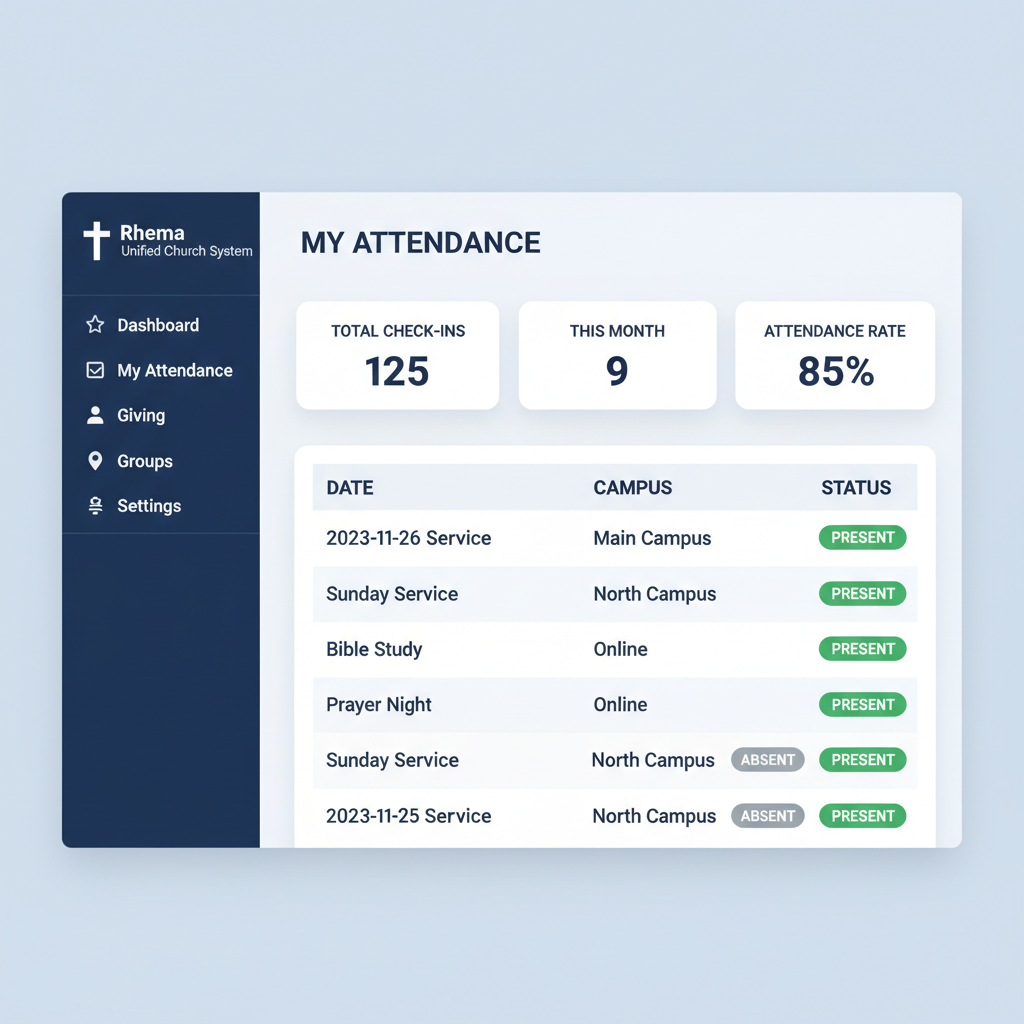
Fig 5.3 — Attendance History page
Events and Announcements
Members use these areas to stay connected with church communication. Typical uses:
- review upcoming events
- see church announcements
- respond where RSVP features apply
Giving
This is the member's donation history area. It supports:
- in-portal donation form
- one-time donations
- recurring donations
- transaction history
- tithe history
- per-transaction receipts
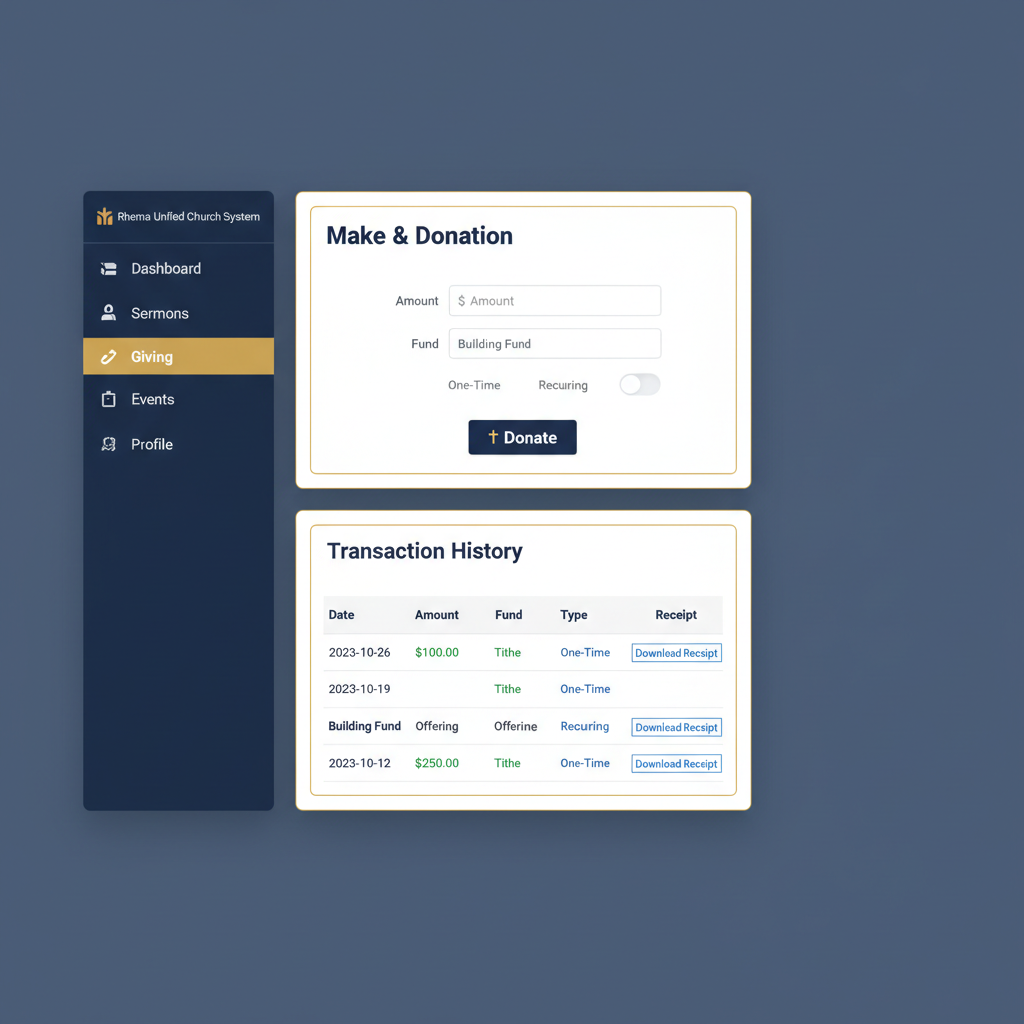
Fig 5.4 — Giving page with donation form and transaction history
Giving is for raw donation records and receipts.
Subscription
This is the member's subscription and membership billing area. It supports:
- membership-related subscription visibility
- Stripe customer portal access
Subscription billing tools live here, not in Giving.
Tax Documents
This is the member's summary and formal document area. It supports:
- monthly giving summaries
- yearly giving summaries
- annual summary records
- acknowledgment documents when available

Fig 5.5 — Tax Documents page
Tax Documents is for summaries and formal records — not per-transaction receipt history.
Public Donation Experience
The website donation form allows giving without logging into the portal.
It collects:
- donor name
- donor email
- donor phone
- donation amount
- fund
- donation type
This helps preserve donor identity so giving can be matched more accurately inside the system.
Admin Portal Tour
Admins use the portal to manage operations.
Core admin areas:
- dashboard
- members
- attendance
- events
- announcements
- memberships
- giving, tithes & offerings
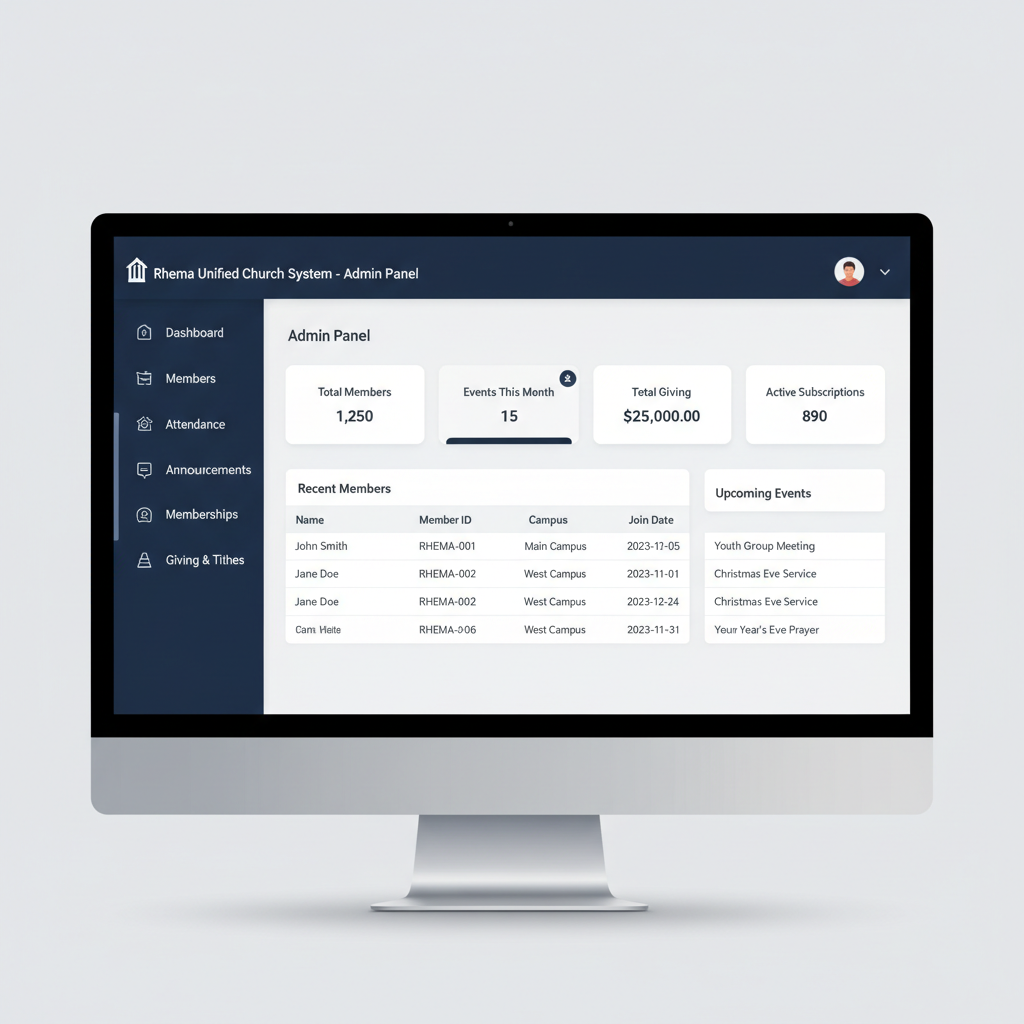
Fig 7.1 — Admin Dashboard
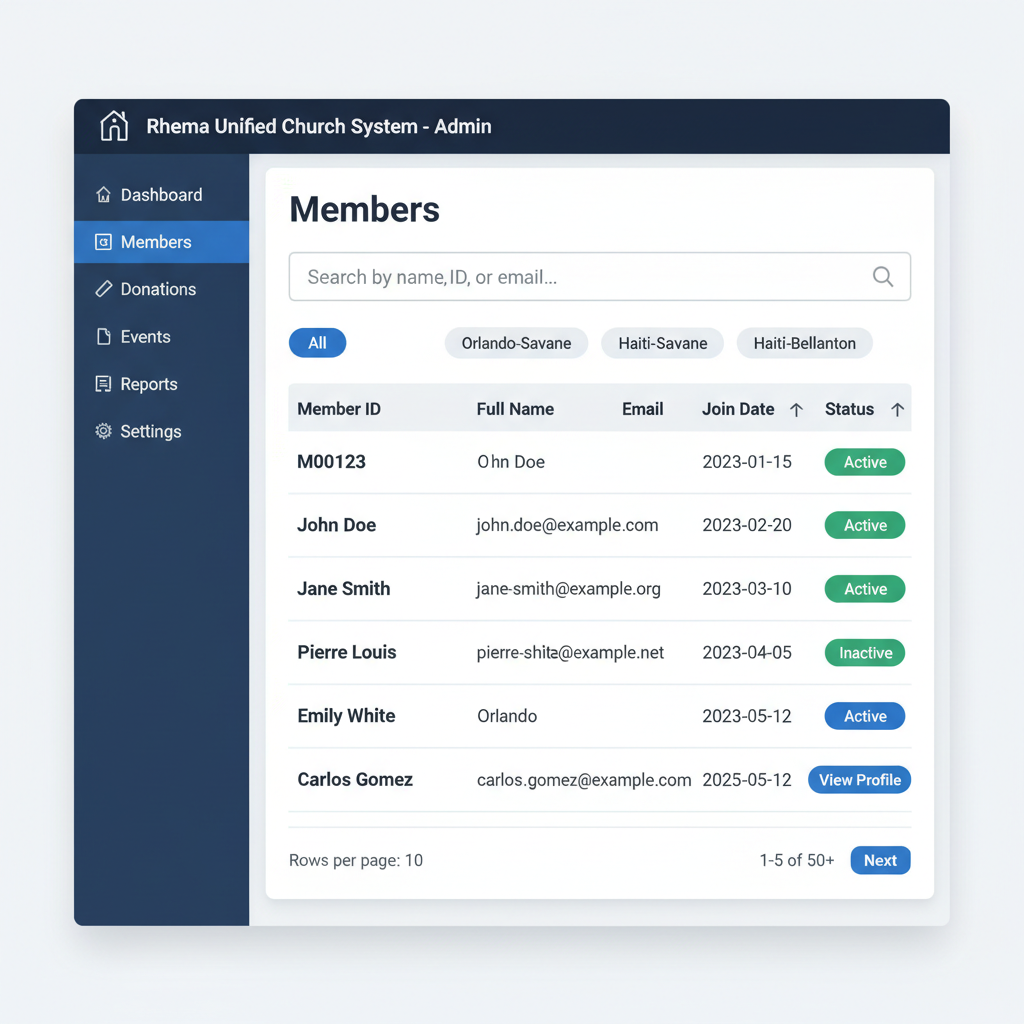
Fig 7.2 — Admin Members management page
Admin Roles
Super Admin
Super admin has full system access. This includes:
- finance access
- tax document access
- admin creation access
- full operational control
Admin
Admin has standard operational access. This includes:
- member and event management
- attendance and announcement management
This does not include:
- finance access
- tax document access
- admin creation
| Permission | Admin | Super Admin |
|---|---|---|
| Member & event management | ✓ Yes | ✓ Yes |
| Attendance & announcements | ✓ Yes | ✓ Yes |
| Finance access | ✗ No | ✓ Yes |
| Tax document access | ✗ No | ✓ Yes |
| Admin creation | ✗ No | ✓ Yes |
Admin Workflow Tour
Dashboard
Used for: quick system awareness, member and attendance visibility, event awareness.
Members
Used for: member search, member profile review, attendance visibility.
Attendance
Used for: reviewing attendance records, checking attendance-related issues, monitoring attendance behavior.
Events
Used for: creating events, editing events, closing events, deleting test events when necessary.
Only remove test records intentionally. Avoid deleting real event history unless necessary.
Announcements
Used for: creating announcements, publishing church communication, managing announcement lifecycle.
Memberships
Used for: reviewing membership or subscription-related operations.
Giving, Tithes & Offerings
This is the main finance workspace for super admin. It contains:
- Giving
- Tithes
- Offerings
These filters help review financial records by category.
Cash Donation Workflow
The system supports manual cash donation records in addition to Stripe donations. This is important because not all gifts happen online.
Cash donation entry can support:
- member donations
- event donations
- other donor or organization donations
Keep one real financial picture across Stripe donations and cash donations.
Donor Records and Tax Documents
The donor record layer helps organize summary and formal records. It supports:
- donor-centered summaries
- monthly summary visibility
- yearly summary visibility
- acknowledgment document visibility when available
Giving keeps transaction records. Tax Documents keeps summary and formal records.
Basic Operating Rules
Protect the Member Foundation
The member form and member identity layer are the foundation of the whole system. They should be handled carefully because they affect:
- attendance
- giving
- account setup
- admin lookup
- donor records
Use the Right Page for the Right Job
- Giving — for transaction history
- Subscription — for customer portal and membership billing
- Tax Documents — for summaries and formal records
Keep Finance Access Restricted
Only super admin should handle:
- finance
- donor records
- tax documents
- admin creation
Training Checklist
👤 Member Training Checklist
- Submit member form
- Complete first-time setup
- Log in
- Review profile
- Review attendance
- Make a donation
- Open giving history
- Open tax documents
🛡️ Admin Training Checklist
- Log in as admin
- Search members
- Create and edit an event
- Publish an announcement
- Review attendance
👑 Super Admin Training Checklist
- Review finance page
- Record cash donation
- Review donor records
- Verify tax documents visibility
- Verify admin permission boundaries
Summary
The unified portal is built around one protected truth:
Member registration and identity creation come first.
Once that foundation exists, the portal can safely support:
- member access
- attendance
- events
- giving
- subscriptions
- donor records
- tax summaries
That is what makes the system unified instead of fragmented.
Rhema Tabernacle de Gloire
This manual is for internal use by church members, staff, and administrators.